From paper to print.
I thought I write a blog to answer a particular question I get asked a lot....
How do I get my illustrations from paper to print?

So here is my process of converting my illustration from paper to print. I can sometimes have more failures (and panic attacks) than success, but this particular process I am talking about is the one that works virtually every time for me.
There are two methods I use — one via computer and the other I will draw by hand (again)
By computer:
Firstly I scan my illustrations into my MacBook and use photoshop to tweak them. The aim is t get rid of all the white background and have only the black image left.
I use various methods, cutting and pasting as well as the sketch filter, I may also add more black to the image. I then remove anything I am not happy with, such as random drawn lines or corrections I have made in the original.

Once I am happy, the image is ready to print onto, transparency film, a special membrane called gecko paper, from www.geckopaper.co.uk.

(image curtesy from geckopaper.co.uk)
This is a special acetate, which I put into an ordinary A4 inkjet printer, that has a sticky layer to one, making sure the sticky side is facing the ink dispenser. This sticky surface makes the ink stick to the acetate.

What comes out of the printer is a black image of the original illustration. Depending on how dark the image is, I may need to print more than one to overlay them to darken the image, the aim being to block out the light.
Drawing my hand -
This method is simpler but does require some special pens and normal acetate.
Again the aim is the same, to have just the image itself on the acetate and as dark as possible to block out the light.
I trace over my original image, drawing directly onto the acetate, with a set of Zig opaque pens. These block UV light and come in four different nibs.... brush, fine, ultrafine and broad. I bought mine from www.handprinted.co.uk.

(image curtesy from Handprinted.co.uk)
Transfering the image to the screen -
For the screen printing stencil I use Photo Emulsion - a light-sensitive liquid which hardens under a UV light.
I use Jacquard Photoemulsion, purchased from www.huntthemoon.co.uk , which comes in two sizes.

(image curtesy from huntthemoon.co.uk)
I coat both sides of my screen with a thin layer of this emulsion and let it completely dry making sure it is flat, in a dark room or cupboard, overnight.
Next stage is to expose (or burn) my image into the dry emulsion on the screen. This stage is tricky and does involve doing tests with the photo emulsion, before even thinking about printing. (I will go into more detail in my September newsletter about the process exposing, sign up here to be kept updated, www.tgtextiles.co.uk)
This has to be done under a special, UV free light, so as to not affect the untreated emulsion.


I have created my own exposure unit for the burning of the image with a UV light source. I place my screen (which is facing up) below the lamp and lay the image on top, lastly, I then place a piece of clear perspex on top of the image. This is to stop anything moving, even a small breeze can cause a double exposure.
I then set my timer and turn the lamp on. What happens during this exposing process is the emulsion that is not covered by the black image, hardens, while the emulsion hidden under the black image stays soft and water-soluble because the image blocks the UV light.
Once the exposing time is up, I turn off the lamp. I quickly remove the perspex and acetate, then spray the screen over the unexposed area with water. This stops the light sensitivity in the emulsion and starts to it wash away. A quick spray with the hose and the image is revealed as a stencil on the screen.

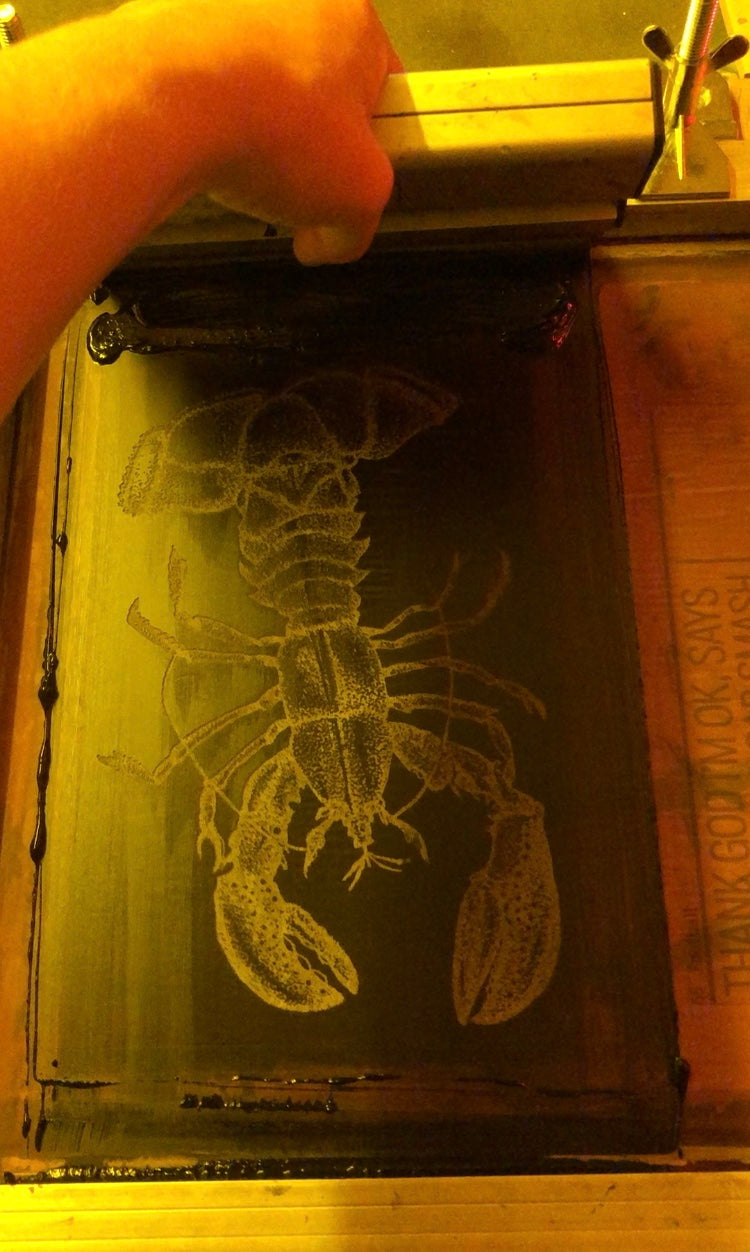
Once dry, I check the screen over, and it is ready to print with. This is where the fun can begin!!
